Flip Top Bottle 3D Mockup Bundle: Practical Integration for Packaging Workflows
Presenting a product concept to a client or stakeholder often comes down to one thing: how real it looks. A flat design file on a white background rarely communicates the tactile experience of a finished bottle. That gap between concept and reality is where the Flip Top Bottle 3D Mockup Bundle enters a packaging workflow. Rather than starting from scratch with complex rendering software or outsourcing every visual, this bundle provides a structured, reusable set of assets that fit directly into brand development, client presentations, e-commerce launches, and content production.
What the Flip Top Bottle 3D Mockup Bundle Actually Delivers
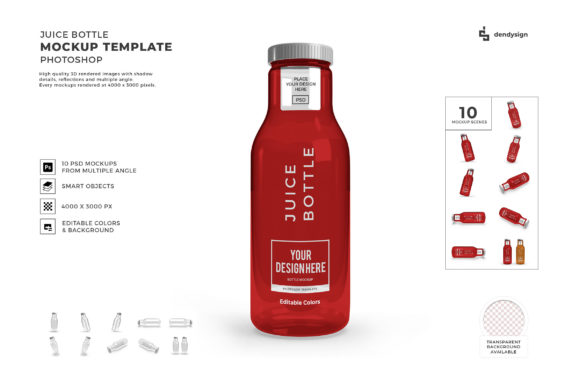
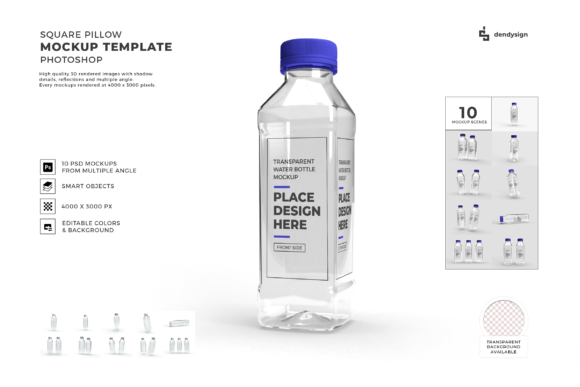
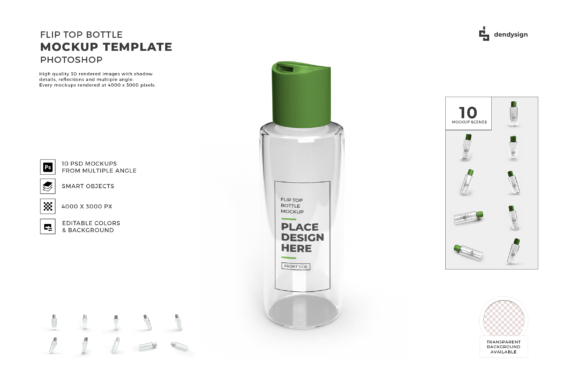
At its core, this bundle is a collection of layered, editable 3D mockup files built around flip top bottle shapes. These files are typically delivered in formats compatible with Adobe Photoshop or similar layer-based editors. Each mockup includes smart object layers, shading, reflections, and environmental lighting that respond when you insert your own label design or artwork. The bundle covers multiple angles, cap configurations, and bottle orientations, giving you a library of visual contexts rather than a single static image.
The real value lies in the preparation work that has already been done. Instead of building lighting rigs, matching perspective, or crafting realistic shadows from scratch, you drop your artwork into a smart object and the mockup handles the rest. This makes the bundle a bridge between design creation and final presentation, allowing you to move from flat artwork to photorealistic product shot in minutes rather than hours.
Where the Bundle Fits in a Broader Packaging Workflow
Packaging development typically moves through several phases: concept sketching, digital design, client review, revision, pre-press preparation, and final production. The Flip Top Bottle 3D Mockup Bundle lives most naturally between digital design and client review. Once you have a finished label or bottle graphic, the mockup transforms that file into a contextual product shot that stakeholders can evaluate realistically.
However, its usefulness extends earlier in the process as well. During the ideation phase, you can apply rough or incomplete artwork to the mockups to test color schemes, logo placement, and label proportions before committing to a final design. This allows you to iterate quickly without waiting for physical samples or costly prototyping. Late in the process, the same mockups serve as consistent visuals for e-commerce listings, social media teasers, and packaging spec sheets, reducing the need to reshoot product photography for every variant.
Integration with Design Tools and Platforms
The bundle interacts directly with Adobe Photoshop, but its integration goes deeper into your broader toolset. Smart object layers mean you can connect the mockup files to your existing design templates, brand asset libraries, and color palettes. If you work within a team, the mockups can be stored on shared cloud drives or digital asset management systems, allowing multiple designers to apply their own label variations without altering the underlying lighting or shadows.
For e-commerce workflows, the output from these mockups feeds directly into platforms like Shopify, BigCommerce, Amazon, and Etsy. A consistent set of product images built from the same mockup bundle creates visual uniformity across listings, category pages, and promotional materials. Marketers can generate lifestyle-style product shots without scheduling a photoshoot, and bloggers can create cohesive visuals for reviews or roundups using the same template base.
Practical Implementation Tips for Consistent Results
Getting the most out of a flip top bottle mockup bundle requires some upfront attention to file structure and naming conventions. Because these bundles contain multiple angles and bottle variations, a disorganized file system can slow you down significantly when you need to find a specific view.
- Organize by angle and cap type. Create folders for front-facing, three-quarter, top-down, and side views. Within each, separate clear cap, colored cap, and metallic cap variations. This makes retrieval intuitive even when you are working under tight deadlines.
- Standardize your label template dimensions. Measure the smart object area in the first mockup you open, then build a matching Photoshop template with guides and bleeds. Save that template as a starting point for every new label design. This eliminates guesswork and ensures your artwork fits perfectly across all mockup files that share the same dimensions.
- Use layer groups and naming tags. When you insert your artwork, keep the original smart object intact and work within duplicate groups. This preserves the base mockup for reuse and lets you generate multiple label variations from the same file.
- Export at consistent resolutions. Decide early whether your outputs need to be web-optimized (72 dpi, RGB) or print-ready (300 dpi, CMYK). Batch export from Photoshop using actions or export presets to maintain quality across dozens of product variants.
Quality Control Across Multiple Variants
One of the most common workflow challenges with mockup bundles is maintaining visual consistency when you are producing images for a full product line. A brand that sells flip top bottles in five sizes and ten scents will end up with fifty unique product shots. Without a controlled process, lighting, shadows, and color balance can drift from one export to the next.
To prevent this, build a reference file that contains the base mockup with no artwork applied. Use this reference to check that your lighting environment remains neutral across sessions. If you adjust brightness, contrast, or saturation on one product shot, apply the same adjustment layer to all files in the series. Batch processing tools in Photoshop, such as the Image Processor or droplet actions, allow you to apply identical adjustments across an entire folder of mockup files in seconds.
Color consistency deserves special attention, especially if your bottle labels contain brand-specific Pantone or hex values. Calibrate your monitor before starting, and consider creating a color profile specifically for your mockup workflow. When exporting for client review, embed the color profile in the file so that stakeholders see the intended colors even if their own displays are uncalibrated.
Real Workflow Examples Across Different Roles
For a small business owner launching a new product line. You have designed labels for three different flip top bottle sizes but cannot afford professional product photography. Download the mockup bundle, organize the files by bottle size, and apply your label artwork to the smart objects. Within an afternoon, you generate twenty product shots covering front, side, and angled views for every bottle. These images go directly onto your website, into your Amazon listing, and onto your social media launch posts.
For a marketing team preparing a brand refresh. You need to present three label concepts to a client, each on the same bottle shape but with different color treatments. Using the mockup bundle, you create a single Photoshop file with three layer comps, each showing a different label variation on the identical bottle angle. The client can toggle between options in a single document, which speeds up decision-making and reduces email chains filled with attached image files.
For a freelance designer building a client portfolio. You often work with beverage, cosmetic, and cleaning product brands that use flip top bottles. Instead of photographing each finished label, you keep the mockup bundle as a reusable asset. When a client asks for a mockup, you insert their label, export high-resolution images, and include them in your presentation deck. The same mockups later appear on your website as case study visuals, demonstrating your work in a polished, professional format.
Long-Term Use and Asset Management
A well-organized mockup bundle can serve your workflow for years if you treat it as a maintained asset rather than a one-time download. As your brand evolves or your design skills improve, revisit the mockup files to update shadows, reflections, or background environments. Small adjustments to the lighting layer can modernize the look of all your product shots without requiring new photography.
If you work across multiple computers or with remote team members, store the mockup bundle in a synced folder with version control. This prevents file duplication and ensures everyone applies labels using the same base lighting and perspective. When a new bottle shape or angle is added to the bundle in a future update, simply replace the old files and your templates continue working with the refreshed assets.
Compatibility Considerations Before You Start
Before purchasing or downloading a flip top bottle 3D mockup bundle, confirm the file format requirements. Most bundles require Adobe Photoshop CS6 or later, and some may rely on specific features like 3D layers or advanced blending modes that are only available in certain versions. If you work exclusively in Affinity Photo, GIMP, or other editors, check whether the smart object structure transfers correctly. Some bundles offer PSD-only formats, while others include layered TIFF or PNG variants that work across a wider range of tools.
Screen resolution also matters. If you plan to use the mockups for large-format print materials, ensure the bundle includes high-resolution files that can scale to poster or packaging dimensions without pixelation. For web-first workflows, standard resolution files keep file sizes manageable and load times fast.
Efficiency Gains Through Batch Processing
One of the strongest arguments for using a mockup bundle rather than individual mockup generators is batch efficiency. Many single-use mockup tools require you to upload a design, wait for rendering, and download one image at a time. A file-based bundle lets you process multiple label designs simultaneously using Photoshop actions, scripts, or batch replacement tools.
For example, if you have ten label designs that all need to appear on the same flip top bottle at the same angle, you can set up a single mockup file, record an action that replaces the smart object content and exports the result, then run that action across all ten label files automatically. What would take an hour of manual work finishes in under a minute. This kind of workflow efficiency matters most when you are producing images for A/B testing, seasonal promotions, or multi-SKU catalogs.
Adapting the Bundle to Personal and Professional Goals
Beyond commercial packaging, flip top bottle mockups serve educators teaching product design, hobbyists creating concept art, and bloggers reviewing bottle-based products. An educator can build a library of label variations for classroom critiques. A hobbyist designing custom labels for homemade gifts can produce realistic previews before printing adhesive sheets. A blogger reviewing a line of bottles can generate consistent comparison images without needing each physical product on hand.
In each case, the mockup bundle reduces friction between the idea and the visual proof. The process shifts from learning complex 3D rendering or coordinating photoshoot logistics to focusing on the design itself. That is the practical value of a well-constructed mockup bundle: it removes technical barriers so the creative or professional work moves forward faster.